I intend to put the fairing that came with my purchase on the bike but not all parts were included for the full adaption.
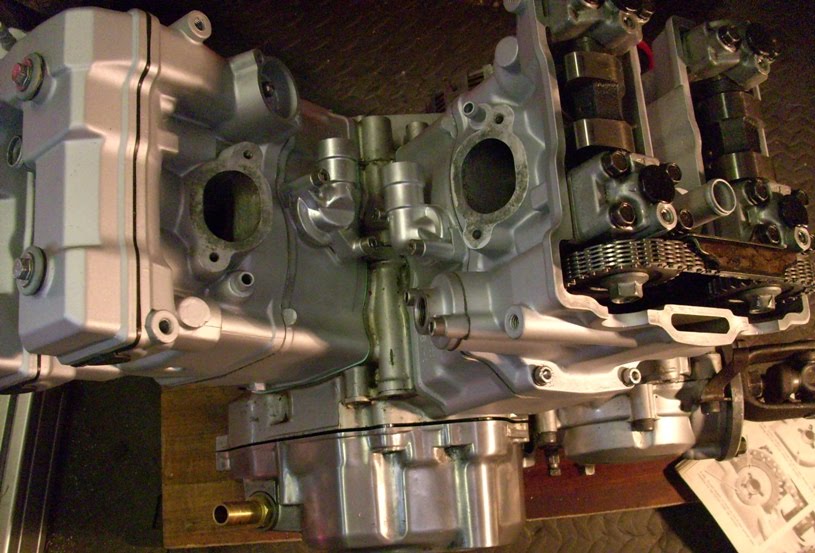
One part missing is the adaptor that replaces the oil filler cap that fits an oil tube which extends the filling to fairing bracket.
I can't find anything close on ebay so I had to find something else.
I did find a 1/2" BSP tail fitting on ebay which is a fairly standard part for hose fittings.
Only problem is the thread in the casing is metric so this was tapped out to 1/2" BSP.


The fitting as it came from ebay, fairly cheap as a used item.

The fitting screwed in place. It has now been shortened, I'll post another picture with the hose attatched when I've taken one.

The connections and sleeving on the internal engine electricals get updated next.
I bought a 3 way waterproof electrical connector off ebay for the connection between the R&R and the alternator.

The connector all fitted.

A picture of the R&R which came off the bike, soldered wires and hardened sleeving needs replacing. I found on the internet that this one comes off a Yamaha XV535, original ones tend to burn out due to the heat they produce and they are loacted in an enclosed space close to the rear exhaust manifold. I'll post another section of how I dealt with that.

The finished article with new connector and heat resistant sleeving (thanks to Mike and Chris) .

The other internal electircals also get tidied up.